
Oh man. Oh man oh man oh man. This stuff is insane. I’ve made it twice so far and not only is it delicious, but I can’t keep enough stocked at the Keg!
Let me back it up a bit. Remember a while back I talked about my favorite Goblin box food, Mook and Cheese? Well, I was feeling particularly hungry today and Denarys and I were sitting around waxing poetic about food the same way that devilish men wax about pretty ladies. I was telling him about the delicious, steamy, ooey goodness that is mook and cheese and suddenly he gives me this sidelong look and asks why the fel I get my mook from a box.
Confused, I asked him what he meant.
He tells me that his mother (or I guess more accurately, his mother’s paid servants) make it all from scratch. And it is the kind of thing that makes the Naaru sing. Well. At least it makes Pryn make some very happy sounds. So after a lot of rather unbecoming begging and a few days to wait on the couriers, I had my very own recipe of Baked Mook to try.
It is well worth the wait.

So before we go any further, some disclosure. The recipe I am doing here is enough to last the Keg a single night — or enough to feed all of Hearthglen for a week. I am going to show you how to cut this recipe in half, because otherwise, it is an absolutely insane amount of food.
That being said, it keeps really well in an icebox, reheats pretty well and tastes good hot or cold. So there’s really no downside.
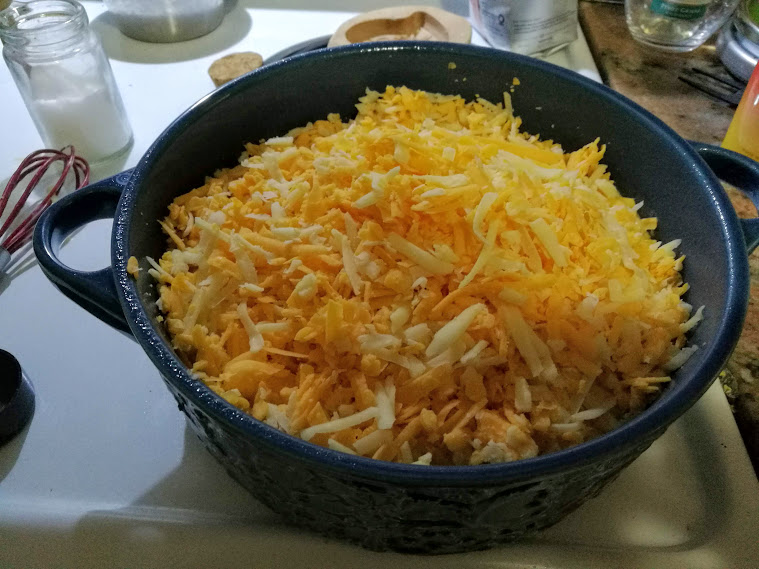
So let’s meet our cast of characters. If you can’t tell by the picture — it is a LOT of cheese. Just so much cheese. Pictured is about 3 lbs (1.5ish kg) of cheese. We also have noodles, I used a full 16 oz, I recommend cutting back to 8 oz. Heavy cream, cow milk, flour, butter, and some seasonings. We also need breadcrumbs for the delicious topping.
Let’s get started.
First, preheat your oven to 350F (175C) and grease a large baking dish. For the half size, a 9×13 is probably good. For the Keg-Sized one… …bigger. You need bigger. You’ll see why.
While that’s warming up, let’s start on the noodles. Now you can really use any kind of noodle here. I was originally going to go with a basic elbow noodle (cuz they bend like a goblin elbow), but I ended up going with these neat spirally tube type with ridges.
Here’s my reasoning: The tube form (like an elbow mac) has the bite-texture I’m looking for. The ridges help the cheese to adhere to the noodle — because let’s face it, isn’t the noodle ultimately just a vessel for the cheesy goodness?
…also they were the same price and I AM a Blood Elf so going Extra is as much a part of me as my long ears.
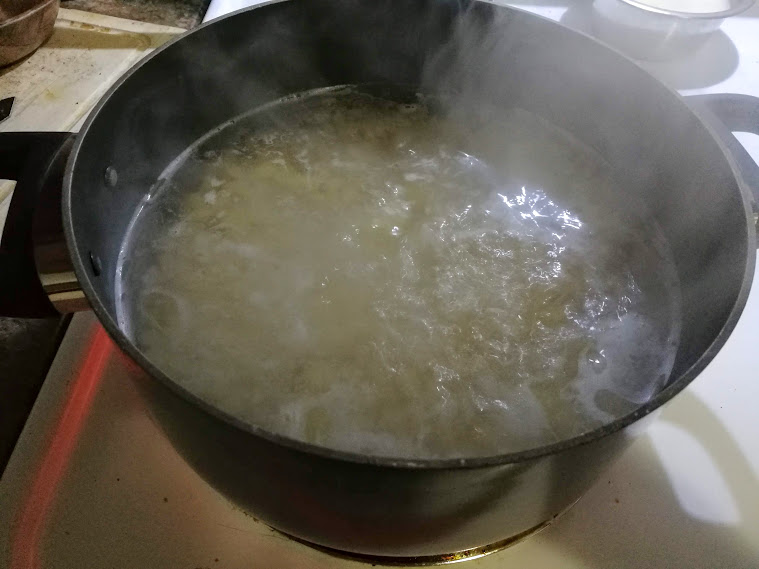
Whichever noodles you choose, cook them one minute shy of the package instructions. We want them to be ALMOST done but not quite. They’re going to cook the rest of the way while they’re in the oven surrounded by delicious cheesiness.
By the Light I’m so hungry writing this.
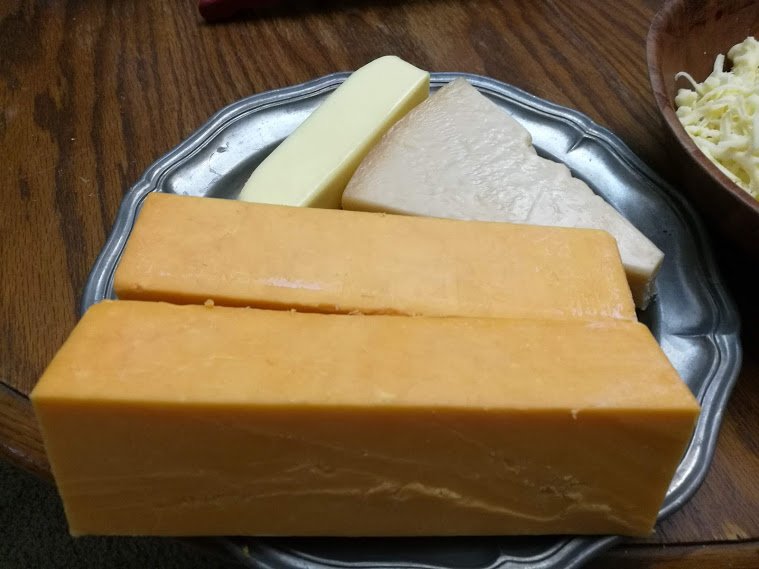
Now to pick out your cheese. For this, I used sharp cheddar, a Monterrey Jack and Parmesan in a ratio of about 2:1:1. Now, you can really use any cheese you want here, so feel free to experiment! Pepperjack and mild cheddar are popular. Here are the guidelines to think about though:
You want a cheese that can melt well. You also want one with a flavor you like. That should be ‘no duh’ but seriously, think about that. Mozzarella might be stringy, but the flavor is very mild. Don’t make it your entire base. And you want a cheese that has a good moisture content but isn’t TOO soft. So don’t make a Parmesan or an Asiago your entire base either, it won’t melt right. I absolutely mixed some in though, hard cheeses gave it a nice tang that I really appreciate.
So now that you’ve picked it, let’s get shredding.

Do you know how much three pounds of cheese is? It’s a lot. It’s a WHOLE lot. It took me two hours to shred this much and oh man I was tired by the time I was done. Pryn informed (and later bought) me of a device that chops food really fast. It’s this Goblin device with a whirling blade and sometimes you can put a disk on top of the blade and it’ll shred a whole block of cheese like it’s nothing. No joke!!
In later makings of this recipe, I’ve used the device and what took me two hours the first time took five minutes the next. Ugh. So useful. I’m so annoyed I didn’t have it earlier.
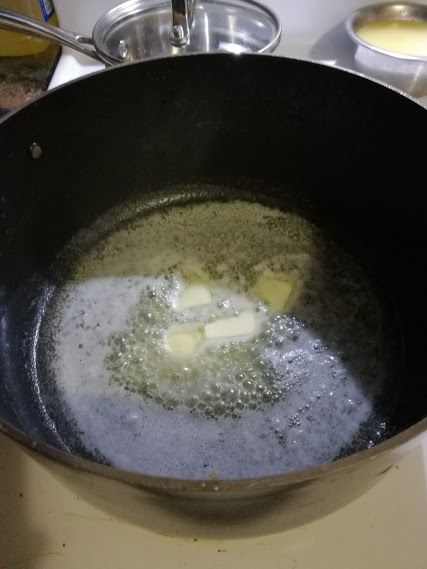
Your noodles should be ready by now. Drain them and set them aside. Toss them with a bit of oil or butter to keep them from sticking. I used the same pot for the rest of this, just to save on dishes. Take 3 Tbsp of the butter and melt it in the pot. Once it’s melted down, start whisking in three tablespoons of flour slowly. Babywhisk died during this process, from old baby-age. It will always live in my heart.

Continue to gently whisk it for about a minute or until it gets bubbly and golden. This is basically a roux, the base for most thick sauces and gravies. Also it’s spelled really weird AND my friend’s fiance’s name is Roux. The more you know.
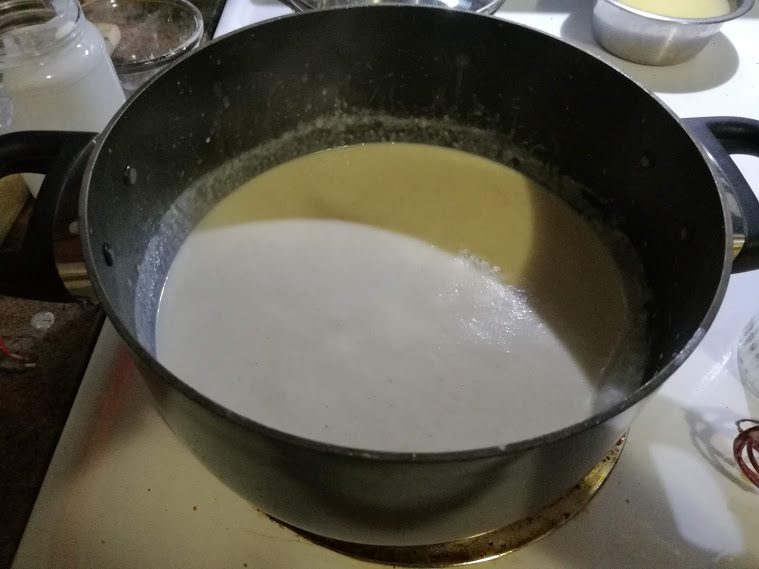
Once it’s bubbly and golden, slowly add the milk and cream and whisk it all together gently. Keep it moving but you’re not trying to beat it, just keeping it from burning. Slowly it will start to thicken and you’ll see bubbles form.
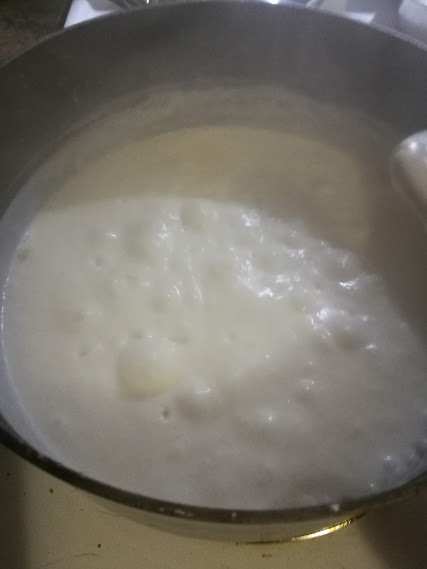
It’ll look kind of like this. See how it’s thickened up? Congratulations, this is a béchamel sauce! Sounds fancy for just butter, flour and cream, right?
Jax’s Tip of the Month: Don’t let fancy-sounding names intimidate you. You can absolutely do this.
At this point, add some onion powder, garlic powder and salt and pepper.
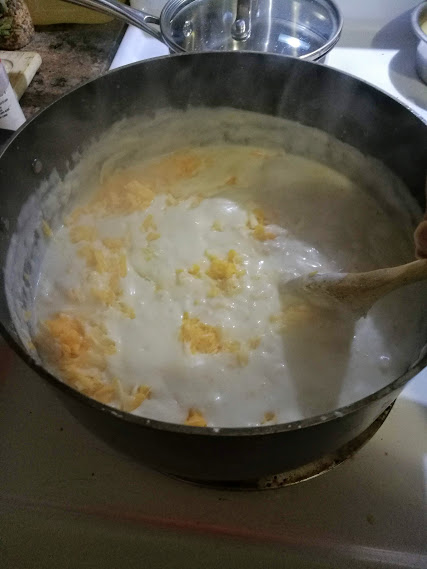
Hard part is out of the way! Now, of your shredded cheese, you should have half of the Parmesan separated cuz we’re using that elsewhere. That leaves the other half of the parm, the Jack and the cheddar. Slowly stir in about one third of the mix and let it melt. It will become gooey and delicious.
Once that third is in, stir in the other third. It’ll get harder to stir, but should never be doughy. Let it melt. Start drooling.
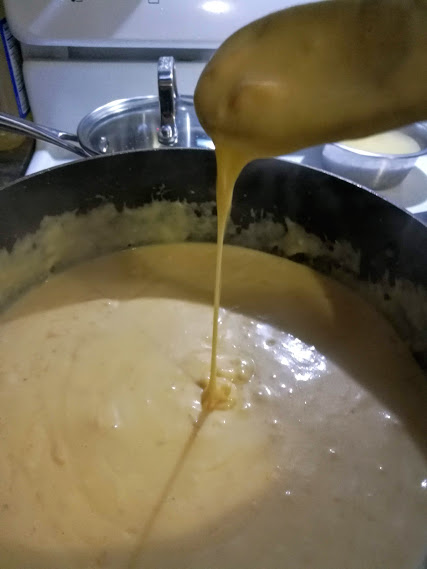
By the Holy Light look at that. It was so amazingly tasty it was very hard to leave it alone. But thankfully, you DO need to taste it! Make sure it has a flavor you like. More spices? Go for it! Missing ‘something’? Try more salt? Not salt but missing something? Try and find an acid. Tiny bits (like seriously, half a teaspoon tiny) of a vinegar make a big difference. I also use pickled lemon juice. But that’s complicated, so aim for salt and spices. And don’t skim on the pepper.

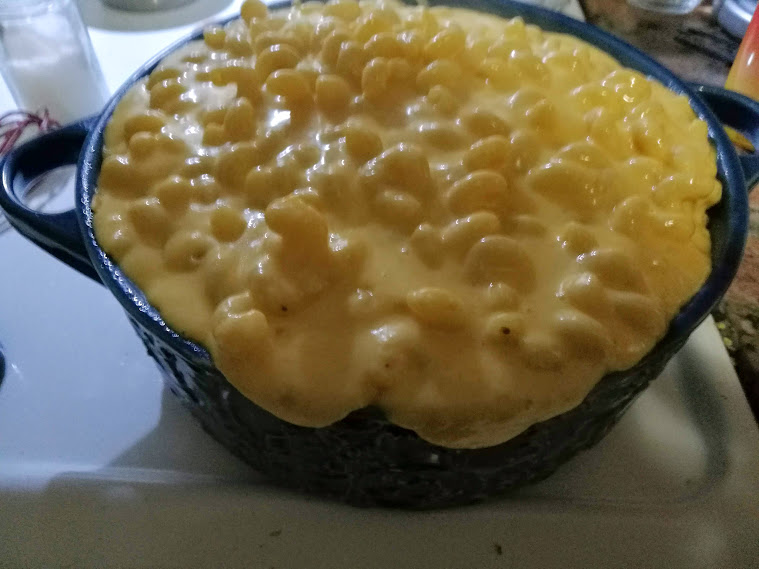
Now add in the pasta and mix it all up. Delicious cheese-vessel, you make it so much more fun than just shoveling cheese straight into your mouth. …I know that sounds like insanity but trust me.
And to start the fun part. Make sure you follow these next steps very carefully (please don’t, I am traumatized).
First, grossly underestimate the amount of mac and cheese you just made. Pick an appropriately too-small vessel.
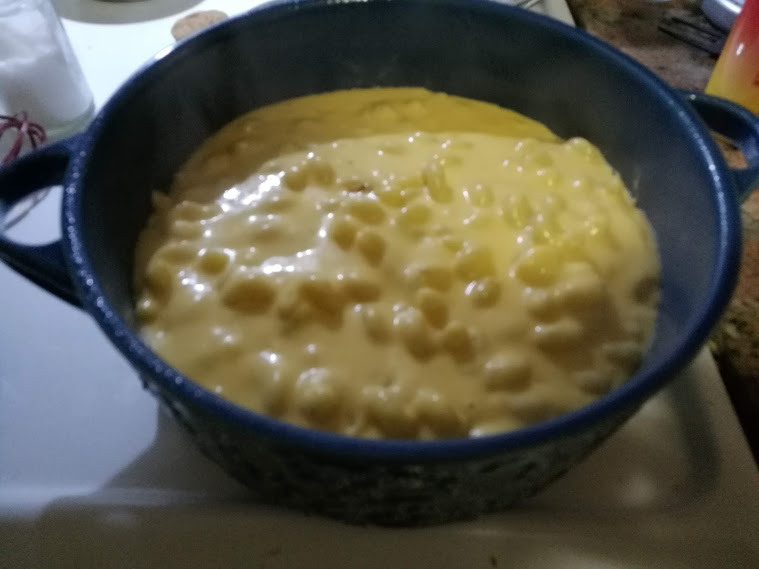
Pour half of the mac and cheese into the vessel, blissfully unaware that it’s too small.
Add the remaining third of the cheese on top of the half.
Enjoy some milk in celebration. Bask in your false comfort that you are still doing a good job, because that will be dashed so very soon. Then, in your final moments of happiness, try to add the final half of the mac, not realizing your grievous error.
Realize your container is too small. WAY too small. Start to panic. Try three different containers before carting out the biggest one you have to get the mac into. Try not to think about how you’ve already jacked up the layers you worked so hard on. Make a continuous, high-pitched noise that attracts Collin from front of the house. Get chided by Collin for creating more work for the dish boy.
Realize you’re the dish boy.
Hate yourself just a little… And eventually find a correct sized container.
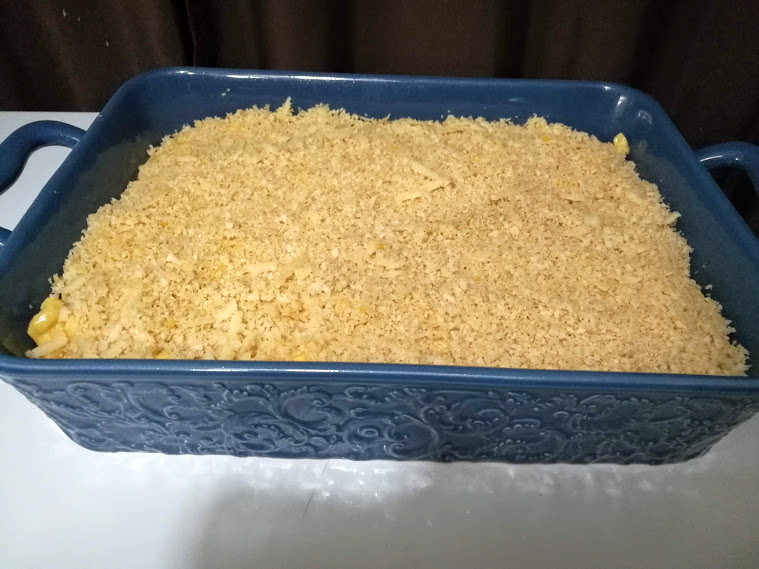
In my panic I didn’t document the correct crust-making, so I’ll explain here. Take the breadcrumbs and melt down the other 2 Tbsp of butter. Take the other half of the Parmesan as well as some paprika and mix them all together. The Parmesan will help it toast, as will the butter. Then spread it all over the top of the mac.
Pop it in the oven and let it bake for about 30 minutes. You want the topping to be nice and toasted up and the gooiness underneath to be bubbly.
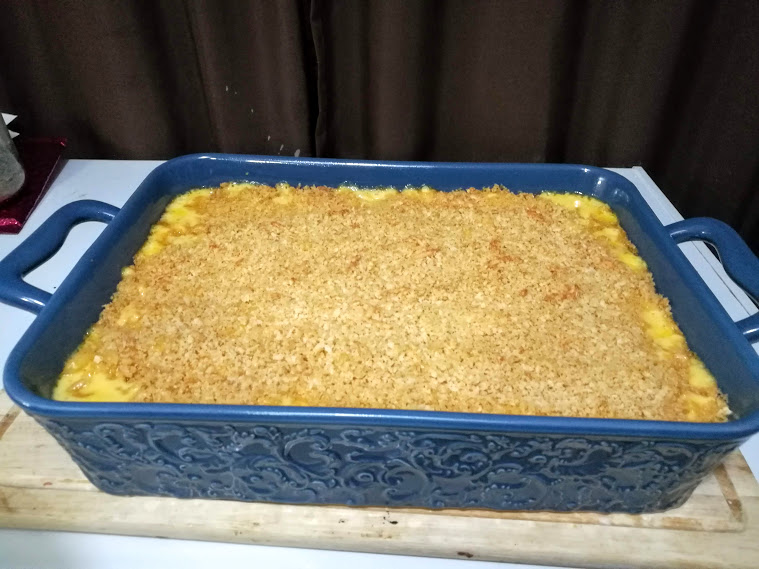
Try to give it some time to cool before you dive in like the hungry animal you are. Don’t burn your mouth…

Ingredients (sane-sized recipe)
- 8 oz pasta (you want a tubular type with grooves. Elbow mac is fine, but something kinda ridged like a cavatappi will work even better. Plus same price)
- .5 Tbsp olive oil
- 3 Tbsp butter
- 3 Tbsp flour
- .5 cup (120 ml) heavy cream
- 1.5 cups (360 ml) milk
- 2 cups (450 g) sharp cheddar
- 1 cup (225 g) Monterrey cheese
- ~.5 cup (115 g) Parmesan (halved)
- (optional) about 2 tsp each garlic and onion powder
- For topping:
- ¾ cup panko crumbs or similar
- 2 Tbsp butter
- ¼ tsp paprika
Instructions:
- Preheat oven to 350F. Grease a baking dish and set aside.
- Shred all cheeses (save half the Parmesan for the topping), combine and set aside
- Cook pasta according to package MINUS one minute. It should be not QUITE done. Drain, drizzle with the olive oil (to keep from sticking), toss and set aside
- In a pot, melt the butter. Whisk in the flour slowly, then continue to whisky for about a minute until it starts turning golden and bubbly
- Gradually add the milk and heavy cream, whisking continuously.
- Whisk until it starts to thicken and you see bubbles forming, then another 2 minutes. This is a béchamel sauce.
- Whisk in salt and pepper to taste, plus the garlic and onion if using
- Add one cup of the cheese mix and stir until smooth
- Add a second cup of the cheese mix. It should be really thick and creamy at this point.
- Stir in the pasta and coat all of it
- Put half of the mac and cheese in the dish, top with the last of the cheese mix, add the other half of the mac.
- Make the topping: Melt the butter, mix into the panko and add the paprika and the other half of the Parmesan
- Spread the panko mix on top and bake for about 30 minutes. The Parmesan and panko should toast up and it should be bubbly
- Allow to cool so you don’t burn your mouth trying to eat it molten like some animal (cough)

This looks amazing! Did you leave any cheese in the store? 🤣😂🤣😂
LikeLike
Very very little. I almost had to go raid a dairy farm!
LikeLike